Beginner’s Guide to Creating a Picture-Perfect Dessert Table
Creating a dessert table that looks intentional and functions smoothly doesn’t require professional styling skills—just a clear plan, a few smart purchases, and an eye for balance. This guide breaks the process into manageable steps so your sweets will look as good as they taste.
Read through the checklist, follow the setup timeline, and use the practical tips in each section to assemble a memorable display for birthdays, showers, or casual gatherings.
1. Start with a simple theme and plan
Choose a theme or color palette first: it guides everything from linens to labels. Decide on the number of dessert types (3–5 is ideal for most small-to-medium events) and whether you want a focal item—like a cake or a tower of cupcakes. If you need supplies to match your theme, browse the Event and Party Supplies category to gather coordinated pieces quickly.
2. Choose your table, surface and foundation
Pick a sturdy table with room for traffic on at least one side. Measure width and depth so you can plan how many platters and stands will fit. Use a high-quality tablecloth to hide legs and create a clean base—choose a fabric and length that suits formality and theme. If you need options, check the Tablecloths selection for colors and sizes.
3. Build in height and tiers for visual interest
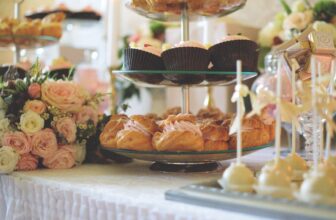
Varying heights prevents the table from looking flat. Use cake stands, tiered trays, boxes covered in fabric, or risers to lift items and create focal layers. A central tall piece anchors the display while lower platters fill the foreground. For reliable options, consider a dedicated Cake Stands collection to elevate cakes and cupcakes without improvisation.
4. Select serveware and serving tools
Choose consistent plating—mixing metals and ceramics can work if colors coordinate, but aim for one visual family. Include small serving tongs, cake knives, and spoons so guests can help themselves cleanly. If you’re assembling a matched set, browse the Dinnerware and Serveware and the more general Serveware categories for options that simplify styling and function.
5. Backdrop, decorations and balloons
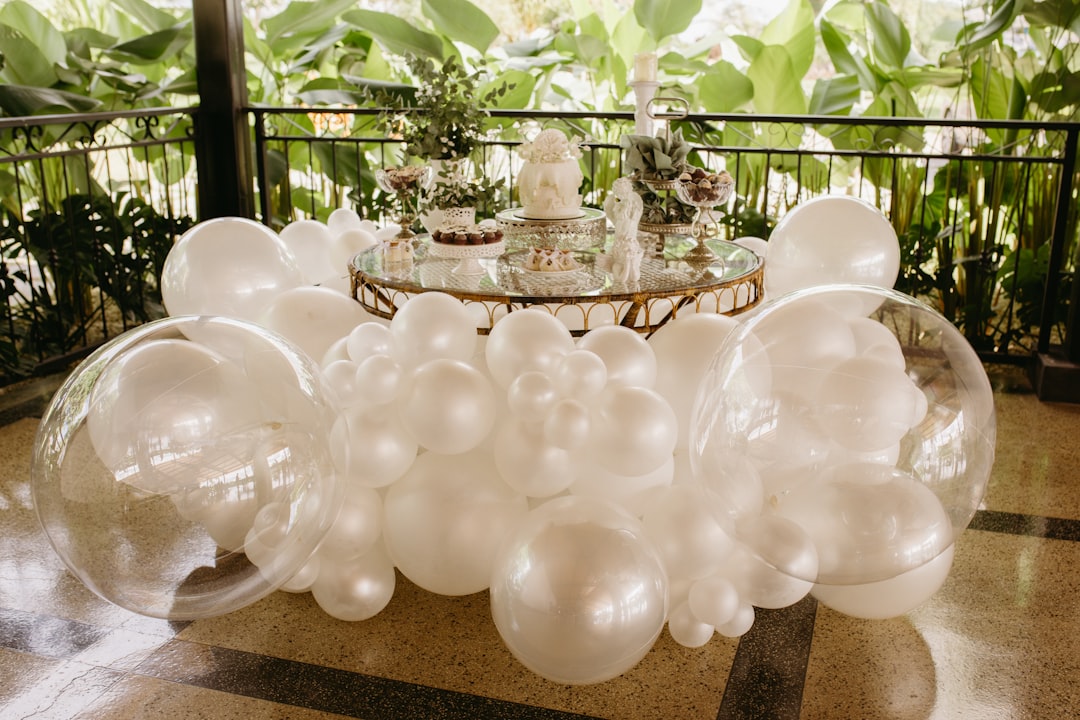
A clean backdrop frames the table and makes photos pop. Use a simple fabric, a paper fringe, a banner, or a garland that echoes your color palette. Add a few themed accents—flowers, confetti, or small props—and position them asymmetrically for a modern look. For on-theme items, look through the Decorations collection. If balloons are part of your design, pick a coordinated set from the Balloons category and tether them so they don’t obstruct the view.
6. Lighting, signage and finishing touches
Good lighting improves photography and highlights textures. Use warm LED lamps or string lights positioned above or behind the table (not directly on food). Add small signs or recipe cards so guests know what they’re eating—this is especially helpful for dietary notes. If you need utensils, trays, or display pieces with kitchen-grade durability, browse the broader Kitchen and Dining selection for practical serve-and-display items.
7. Timing, food safety and logistics
Plan the table setup timeline: nonperishable decorations and linens the night before, baked goods and chilled items the morning of, and delicate frosted items last. Keep perishable items chilled until 15–30 minutes before serving and replace any item left out longer than two hours. Use covered containers for transport and pack items by stability—flat cookies and bars on the bottom, fragile cupcakes on top. Have spare serving utensils and napkins on hand to restock as needed.
Checklist: Essentials for a successful dessert table
- Table (measured) and a coordinating tablecloth
- One focal cake or centerpiece + 2–4 complementary desserts
- Varied-height risers or stands (including a cake stand)
- Matching plates, napkins, and serving utensils
- Backdrop, small decorations and balloon cluster
- Food labels and basic lighting
- Transport containers, spare utensils and garbage bin nearby
FAQ
Q: How many desserts should I include?
A: For most events, 3–5 types provides variety without overwhelming guests or the table layout.
Q: When should I set up the table?
A: Start non-food setup 2–3 hours before the event. Arrange perishable or delicate items 30–60 minutes before guests arrive.
Q: How can I keep items fresh on the table?
A: Keep chilled items on cool platters or replace them from refrigeration in small batches. Use lids for pastries when not being served.
Q: Any tips for transporting fragile desserts?
A: Use flat, snug containers and non-slip liners. Transport tiered cakes and delicate confections separately and assemble on site if possible.
Q: What if I’m on a tight budget?
A: Focus on a strong centerpiece, reuse simple props, borrow serving stands, and choose fewer dessert varieties presented well rather than many items displayed poorly.
Conclusion
Designing a picture-perfect dessert table is a mix of planning, smart purchases, and staged setup. Start with a clear theme, build layers of height, choose consistent serveware, and manage timing to keep everything fresh. Use the checklist, prepare transport carefully, and add one or two standout pieces to make the table memorable.