Simple Graduation Party Décor Ideas That Look Great in Photos
Graduation parties are milestone moments — and the photos should reflect that. You don’t need expensive rentals or hours of DIY to create a space that looks cohesive, celebratory, and camera-ready.
This guide gives practical, easy-to-execute décor ideas focused on what reads well on camera: backdrops, lighting, color balance, and small details that photograph beautifully. Use what you have, add a few targeted pieces, and prioritize placement and contrast for the best results.
Plan a Photo-Friendly Layout
Before you buy anything, map where photos are likely to happen: the gift table, dessert table, entry, and a dedicated portrait spot. Keep traffic and natural light in mind so people aren’t fighting the sun for photos. A simple floor plan with a few anchor points makes styling easier.
For basic supplies to set focal points and organize stations, shop the essentials under Event and Party Supplies.
Backdrop Ideas That Pop on Camera
A strong backdrop instantly upgrades photos. Choose a single-color fabric, a paper roll, or a collapsible backdrop frame. Add layered elements — a garland, a tassel curtain, or a string of paper medallions — to give depth without clutter.
For premade items and inspiration, browse the selection in the decorations category to find easy pieces you can hang or drape.
Balloon Arrangements—Simple, Structured, Stylish
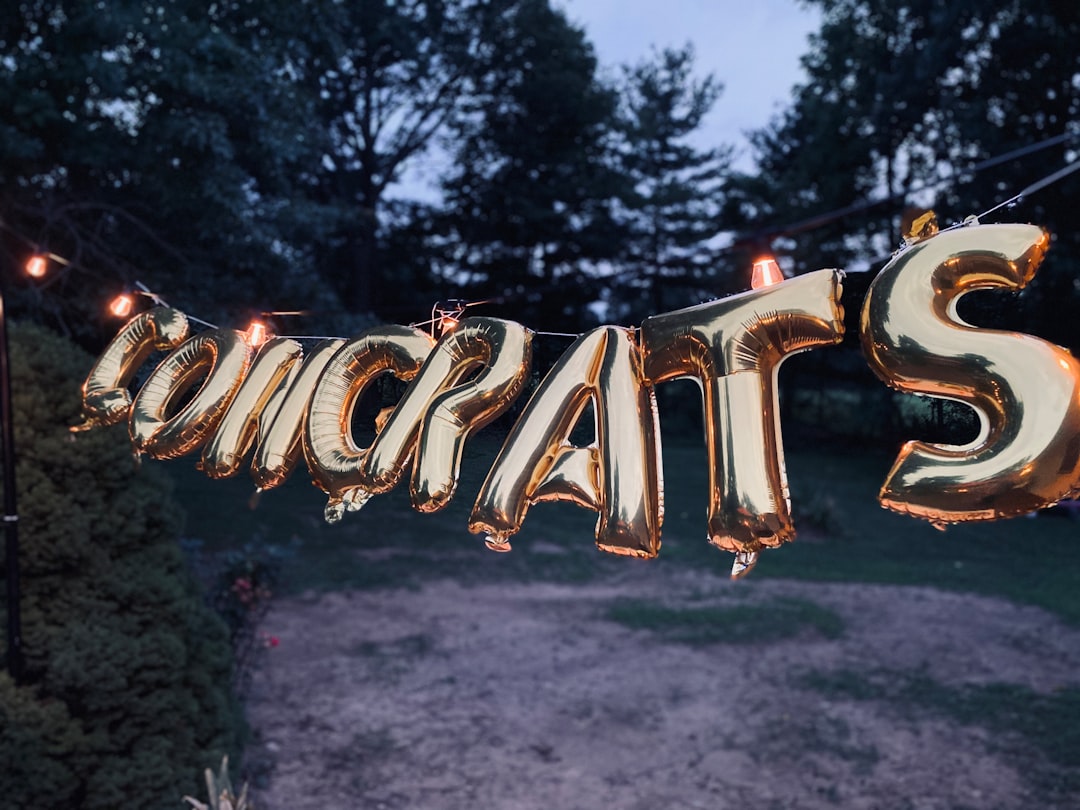
Balloons create volume and frame subjects well. Use a palette of two or three complementary colors and mix sizes (5″, 12″, 18″) to avoid a flat look. Anchor one side of your focal area with a vertical balloon cluster or a half-arch so photos have a natural frame.
If you prefer ready-to-use options, the curated balloons collection includes kits and color-matched sets that save time and look consistent in photos.
Table Styling for Photos: Cloth, Layers, and Focal Pieces
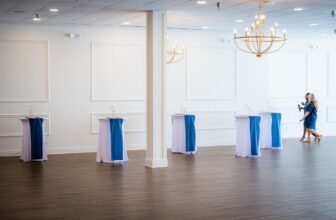
Tables are frequent photo backdrops at receptions. Start with a clean, wrinkle-free base and add one or two layered linens, then keep centerpieces low so they don’t block faces. Metallic accents and textured runners catch light well and photograph as polish without fuss.
Simple, photo-ready foundations are available among tablecloths, which make it easy to coordinate colors and textures.
Lighting That Flatters Every Photo
Soft, even lighting is the single biggest factor in flattering photos. If you have access to natural light, arrange the portrait spot where light falls on faces (window light, open patio, or shaded outdoors). Indoors, use warm string lights, uplighters, or well-placed lamps to remove harsh shadows and create a pleasant glow.
Small decorative lamps, fairy lights, and plug-in uplighters also double as décor; check lighting and accent items in Home Décor Products for compact options that look deliberate on camera.
DIY Props and Signs That Make Portraits Fun
Handheld props (grad cap signs, year numbers, speech bubbles) encourage guests to pose and add personality to shots. Keep props lightweight and on a simple stand or basket for easy access. Use bold, high-contrast colors and clean typography so words read well in pictures.
For craft-friendly supplies and quick embellishments, the Arts, Crafts and Sewing selection has paper, ribbons, and adhesive tools that speed up DIY projects without requiring crafting expertise.
Food and Dessert Presentation for Camera-Ready Tables
Arrange desserts at varying heights to create visual interest: a cake on a central pedestal, cupcakes on tiered stands, and cookies on flat trays. Use matching platters and consistent serving utensils to minimize visual clutter. Stick to neutral or limited-color garnishes so the food reads well in photos.
For elevated presentation, add a focal pedestal from the cake stands category — a single standout piece can make the dessert table look professional in every photo.
Outdoor & Activity Areas—Comfortable Backdrops for Action Shots
If your celebration includes lawn games or inflatables, designate a photo-friendly zone nearby. Keep the background tidy and consider a portable backdrop or simple bunting behind high-action areas so movement doesn’t create a distracting background in photos.
For kid-friendly entertainment that’s also photogenic, explore options in Inflatable Bouncers or other outdoor play categories to balance fun and aesthetics.
Quick Checklist Before Guests Arrive
- Designate 2–3 photo spots with clear backdrops and good light.
- Remove clutter from camera sightlines; clear visible trash, cords, and signage.
- Place props in an accessible basket and label them if needed.
- Ensure table linens are straight and centerpieces are balanced and low.
- Test one posed photo on a phone to confirm lighting and background.
FAQ
- How much time should I spend staging photos?
Set aside 30–60 minutes the day of the party to arrange backdrops, test lighting, and straighten tables — this small investment saves time and yields better photos all evening.
- What color schemes photograph best?
High-contrast combinations (dark + light) or soft coordinated palettes (pastels with one metallic accent) work well. Avoid overly busy prints that compete with faces.
- Can I use balloons but keep photos tidy?
Yes — use structured clusters or arches rather than loose helium bunches. Anchored designs frame subjects and reduce stray strings and floating balloons in the background.
- How do I handle low-light evening photos?
Supplement ambient light with string lights, battery LED uplights, and a well-lit portrait area. Avoid direct flash; instead, use diffused light sources positioned behind the camera when possible.
- What’s the easiest backdrop for beginners?
A single-color fabric or paper roll with a layered garland or tassel curtain is quick to install and photographs cleanly.
Practical takeaway: focus on three things — a clean backdrop, flattering light, and a balanced foreground. With those in place and a few coordinated accents, your graduation photos will look intentional and memorable without requiring a professional stylist.