
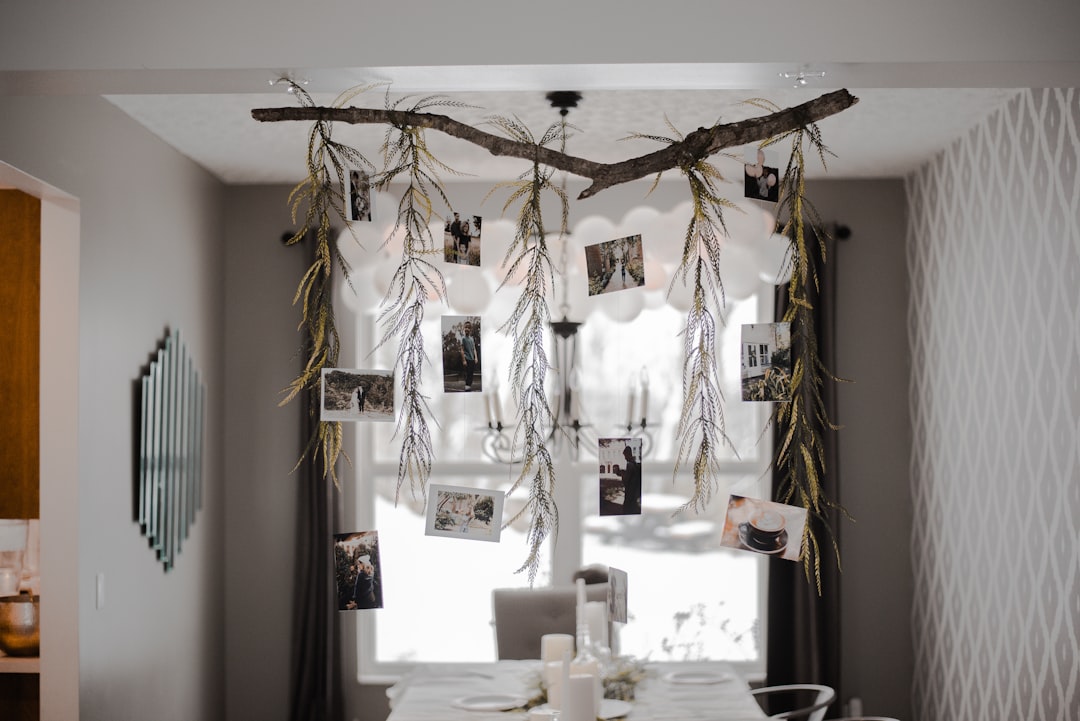
Easy DIY Party Décor Ideas for Beginners
Throwing a memorable party doesn’t require a big budget or advanced craft skills. With a few straightforward techniques and common materials, you can transform a space quickly and confidently.
This guide focuses on simple, practical projects for beginners: fast-impact decorations, low-cost centerpieces, lighting tricks, and kid-friendly options. Each idea includes clear steps, supply suggestions, and timing tips so you can plan and execute without stress.
1. Plan your theme and prioritized checklist
Start by choosing one clear theme or color palette—this keeps decisions simple and materials minimal. For browsing supplies that fit a home-friendly palette or seasonal trends, check options in Home and Kitchen. Decide what matters most (photo area, table setup, balloon display), then allocate time and budget accordingly.
2. Make an easy balloon garland (no experience needed)
Balloon garlands are high-impact and beginner-friendly. Pick two or three complementary colors and a mix of sizes. Use a balloon pump to save time, then tie balloons to fishing line or a pre-made strip in clusters of 3–5 for an organic look.
For a quick supply source and size options, explore the Balloons category. Tip: add a few metallic or confetti balloons for texture and to hide gaps.
3. Simple table centerpieces using everyday items
Create centerpieces from inexpensive items: a stack of books, a small vase, and greenery; or a cake stand topped with seasonal fruit. Cake stands lift arrangements for better sightlines on crowded tables and make even small items look curated.
If you want ready-to-use pieces that elevate a table quickly, consider browsing Cake Stands. Keep centerpieces low for conversation, and use odd numbers (3, 5) for visual balance.
4. Paper garlands, fans, and tassels—fast and inexpensive
Paper decorations are versatile and budget-friendly. Make tissue paper tassels, folded paper fans, and crepe-paper streamers in matched colors. Attach garlands to wall hooks or tape to a ribbon for a cleaner line. Mix textures—matte crepe, shiny metallic paper—for interest.
For specific decorative pieces or premade accents, check the Decorations category. Use double-sided tape for invisible fixes and a glue gun for sturdier joins.
5. Lighting tricks that transform the mood
Good lighting instantly upgrades décor. String fairy lights along a table runner, drape them through a balloon garland, or place battery-operated candles inside jars for a warm glow. For outdoor parties, cluster lights in mason jars and set them on stairs or tables.
Small décor pieces such as table lamps, lanterns, or battery candles help refine the mood—look in Home Décor Products for ideas that blend with your theme. Always use flame-free options for safety around kids and fabrics.
6. Build a picture-perfect backdrop in under an hour
Photo backdrops are easier than they look. Use a large sheet, a roll of craft paper, or a backdrop stand. Layer paper fringe, balloons, and string lights for depth. Secure everything with removable hooks or clips so walls stay undamaged.
If you need additional backdrop supplies, the Event and Party Supplies selection has practical items that save setup time. Center your backdrop where light is flattering and leave space in front for group photos.
7. Kid-friendly decor and activity stations
For children’s parties, combine simple décor with interactive elements: a craft table with stickers and crayons, a balloon corner, or a decorated snack station. Use washable tablecloths and disposable place settings to make cleanup quick.
To stock activity tables and themed favors, explore the Party Supplies options. Keep materials organized in bins and label stations so kids and helpers know where things belong.
8. Table layout, serving flow, and final setup tips
Plan the serving flow early: separate drink, food, and dessert stations to avoid bottlenecks. Use tiered trays and cake stands to save table space and create height variations. Place napkins and utensils at the start of the line for convenience.
Match your serving pieces to the theme by browsing Dinnerware and Serveware. Set up at least an hour before guests arrive so you can handle last-minute fixes and lighting adjustments.
Quick supplies checklist
- Balloon pump, assorted balloons, fishing line
- Tissue paper, crepe streamers, scissors, glue gun
- Fairy lights, battery candles, jars or lanterns
- Tablecloths or runner, disposable plates/napkins
- Vases, cake stand or elevated trays for centerpieces
- Command hooks, double-sided tape, clips
- Trash bags, cleaning wipes, a small toolkit (scissors, tape)
FAQ
-
How far in advance should I start decorating?
For simple DIY décor, start 1–2 days ahead for purchases and prep; assemble major items (balloon garlands, backdrops) on the morning of the event to keep them fresh.
-
What if I have a very small budget?
Focus on three impact areas (entry, table, photo spot) and use recyclable or household items—mason jars, books, plants—to create layered looks without buying much.
-
Can I reuse decorations between events?
Yes. Neutral items like cake stands, string lights, and jars are highly reusable. Store paper garlands flat and keep balloons deflated carefully for future use if they’re high-quality latex.
-
Any safety tips for DIY party décor?
Use battery-operated lights around fabrics and kids, anchor tall displays, and keep small decorations out of reach of young children. Secure backdrops and garlands so they won’t fall during the party.
-
How do I make cleanup faster?
Use disposable table covers and liners, have labeled trash and recycling bins visible, and assign one helper for immediate tidying so final cleanup is brief.
Conclusion
Beginner-friendly party décor is all about choosing a focused theme, using a few repeatable elements (balloons, lighting, elevated centerpieces), and prioritizing the guest experience. Pick two to three projects from this guide, gather your supplies, and give yourself an hour or two on the event day for assembly.
Practical takeaway: start with a strong focal point (backdrop or balloon garland) and build simple, reusable accents around it for a polished look with minimal effort.